
Direct answer
A 19-inch outdoor rack cabinet should be sized from usable equipment space, depth and service access rather than nominal U height alone. Build a rack-elevation schedule that includes active equipment, rectifiers, distribution, patching, cable managers, shelves, blanking space and growth. Check the deepest equipment and connectors against adjustable rail positions, rear clearance, bend radius and door-mounted components. Add the mass and heat dissipation of every item, then verify anchoring, airflow and the path for replacing modules without removing unrelated equipment. External dimensions must also accommodate wall construction, compartments, cooling devices and cable-entry zones. A cabinet with more nominal U space can still be unusable if rails, doors, glands or thermal hardware obstruct the required installation envelope.
This pillar guide connects materials, wall construction, corrosion exposure, impact protection, rack geometry, access and mechanical serviceability. Use it to define project inputs before narrowing to a product family.
System boundaries to define before product selection
Select usable rack capacity and cabinet geometry from the installed equipment, cabling and maintenance envelope. Start with the operating requirement and installation boundary, then separate system requirements from product claims so each supplier knows which evidence must accompany the offered configuration.
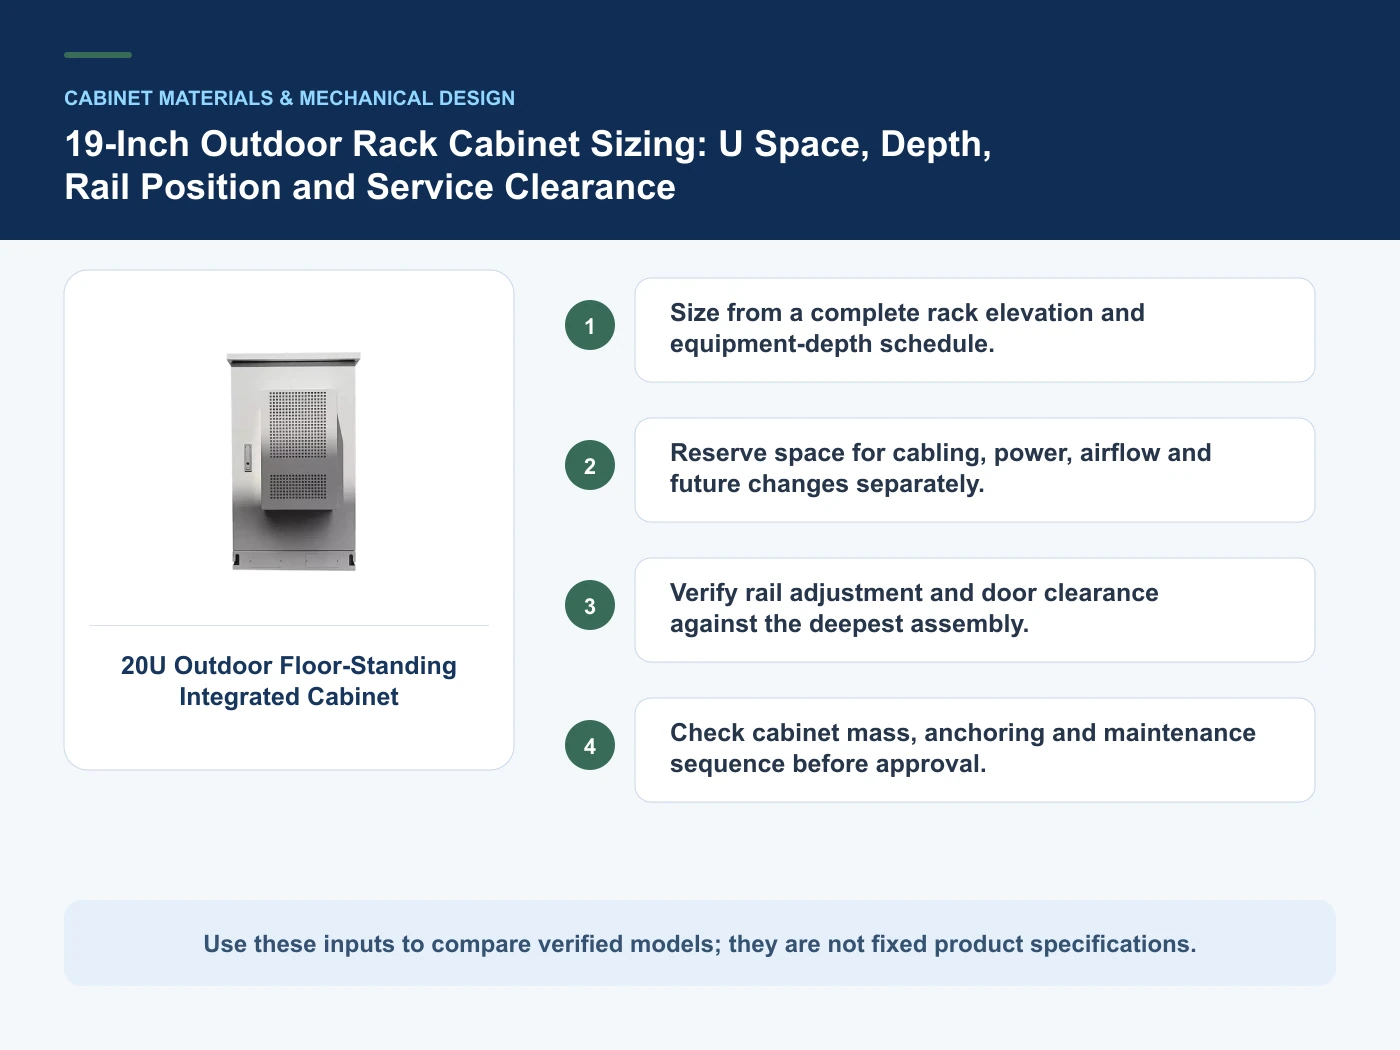
- Size from a complete rack elevation and equipment-depth schedule.
- Reserve space for cabling, power, airflow and future changes separately.
- Verify rail adjustment and door clearance against the deepest assembly.
Size from a complete rack elevation and equipment-depth schedule
Capture Rack elevation and equipment dimensions, then use Rack height as a practical comparison point: Installed U plus separation and growth. Before approval, verify this point: Avoid counting unusable or obstructed spaces.
Reserve space for cabling, power, airflow and future changes separately
Capture Required U height and growth reserve, then use Usable depth as a practical comparison point: Equipment, connectors and bend clearance. Before approval, verify this point: Check rail positions and both doors.
Verify rail adjustment and door clearance against the deepest assembly
Capture Equipment mass and support method, then use Service envelope as a practical comparison point: Removal path and technician access. Before approval, verify this point: Validate maintenance without major disassembly.
Architecture choices and verification boundaries
This table connects materials, wall construction, corrosion exposure, impact protection, rack geometry, access and mechanical serviceability to the decision on 19 inch outdoor rack cabinet. It is a decision aid rather than a universal performance table: exact capacity, environmental class, electrical or optical limits and certifications must come from the selected model, applicable project documents and verifiable test evidence.
| Option or input | When it fits | What must be verified |
|---|---|---|
| Rack height | Installed U plus separation and growth | Avoid counting unusable or obstructed spaces |
| Usable depth | Equipment, connectors and bend clearance | Check rail positions and both doors |
Reference point: ETSI ETS 300 119-2: Engineering requirements for racks and cabinets and IEC 62208:2023 — Empty enclosures for low-voltage switchgear and controlgear assemblies frame the terminology or method used for this 19 inch outdoor rack cabinet comparison. They do not approve a product configuration; apply the edition named by the contract and local authority.
Separate nominal rack units from usable equipment space
Rack-unit count describes vertical mounting capacity, but cable managers, shelves, power distribution, cooling devices and reserved service gaps consume part of the enclosure. Build a front and side elevation from actual equipment dimensions before choosing cabinet height and depth.
Verify rail adjustment, door clearance and connector projection for the deepest device. A rack that accepts the chassis can still fail the installation if bend radius, handles or rear terminations cannot be serviced.
Check load paths and service access
Document equipment mass, shelf loads, center of gravity, lifting method and mounting interface. The project should also define whether technicians work from the front, rear or both sides and which components must be replaceable while adjacent equipment remains in service.
For wall- or pole-mounted cabinets, coordinate bracket geometry and site structure with the enclosure layout. For floor-standing cabinets, include base, anchoring, cable entry and foundation interfaces in the same review.
Issue a layout-led RFQ
Attach the equipment schedule, rack elevations, cable routes and growth allowance to the RFQ. Ask the supplier to mark usable rack depth, rail positions, door swing, service clearances and accessory locations on the offered drawing.
This creates a common comparison boundary across standard and customized cabinets without inferring load or environmental performance from rack size alone.
From requirements to an auditable project decision
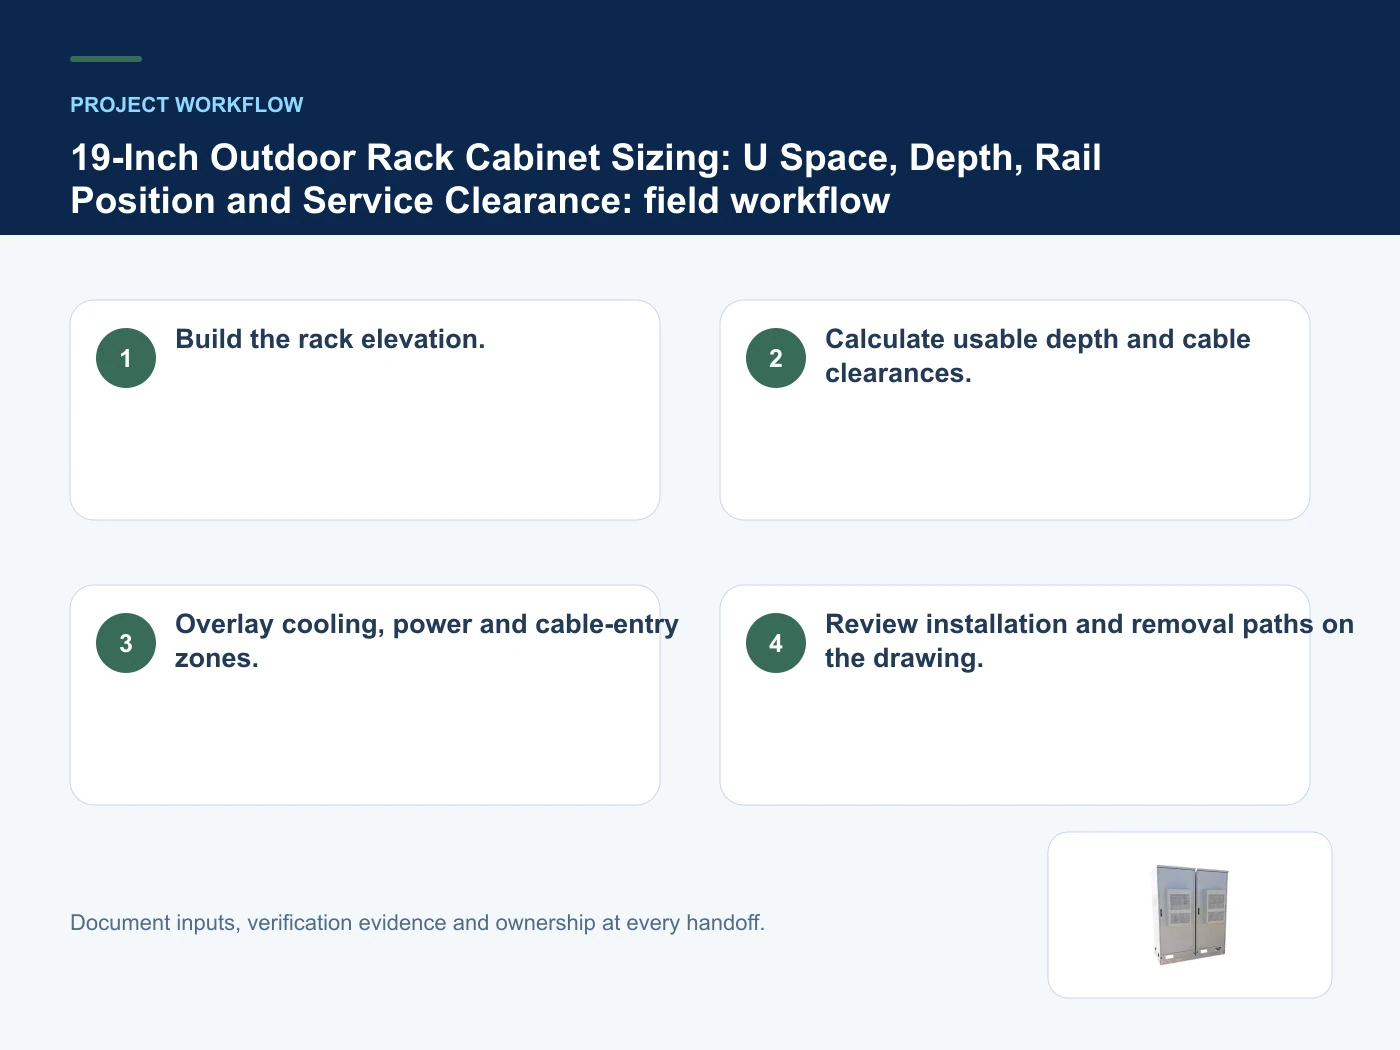
- Step 1: Build the rack elevation. Record Rack elevation and equipment dimensions as an explicit input. Avoid counting unusable or obstructed spaces.
- Step 2: Calculate usable depth and cable clearances. Record Required U height and growth reserve as an explicit input. Check rail positions and both doors.
- Step 3: Overlay cooling, power and cable-entry zones. Record Equipment mass and support method as an explicit input. Validate maintenance without major disassembly.
Relevant products from our communications portfolio
The products below connect the 19 inch outdoor rack cabinet decision to real catalogue families and verified site photography. They are starting points, not a claim that every configuration described here is a standard stock item; confirm model, interface, rating, drawing and testing scope with the project team.
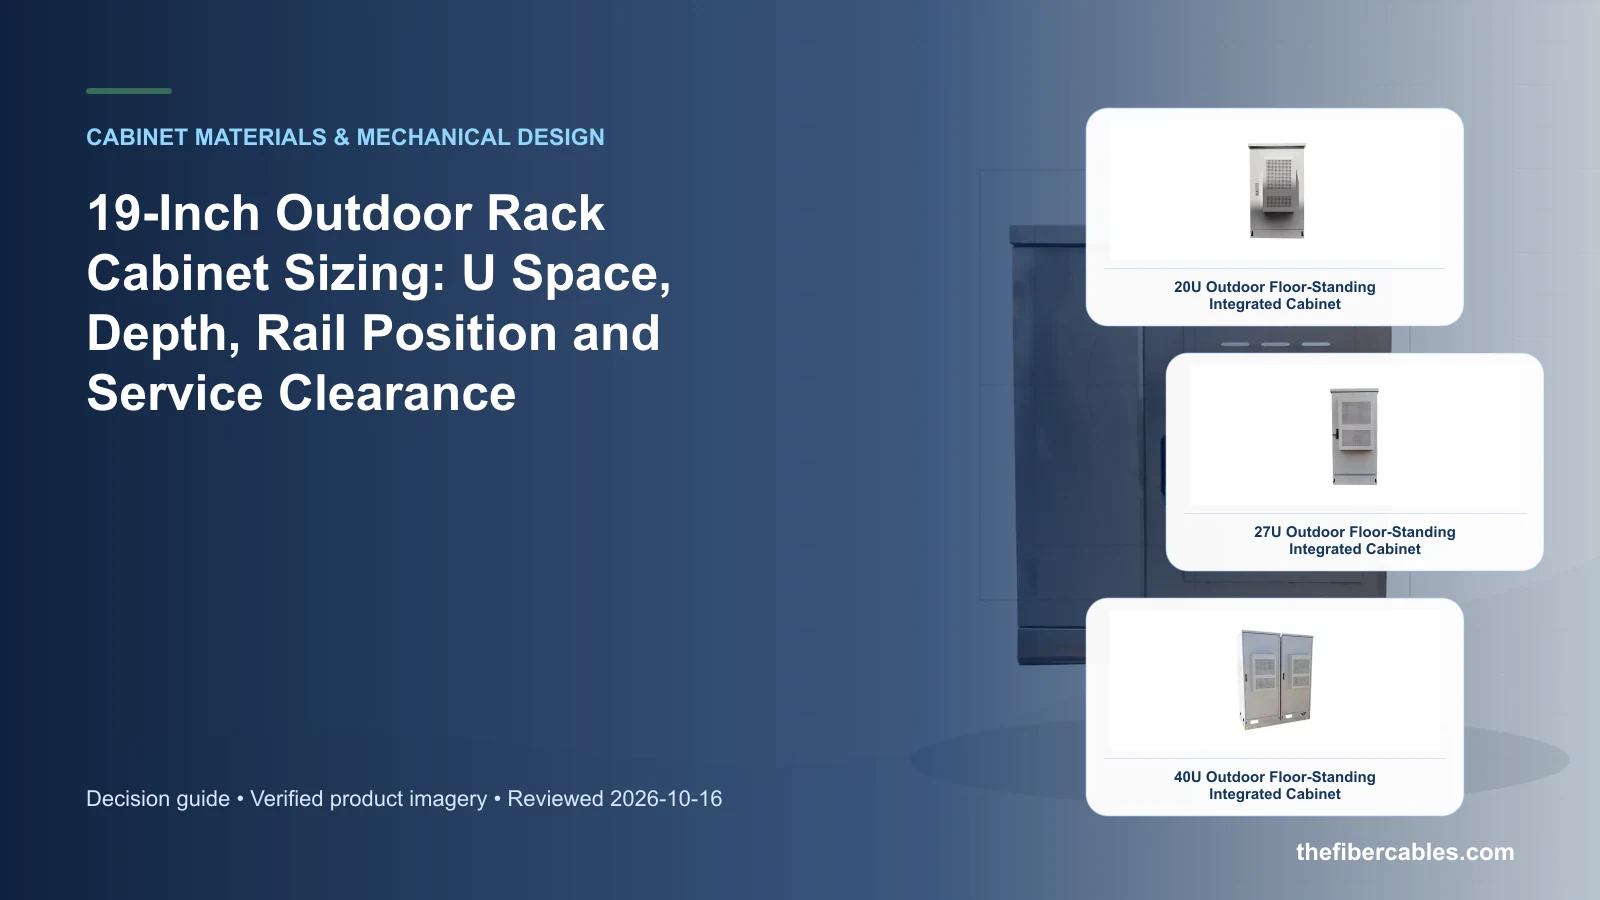
- 20U Outdoor Floor-Standing Integrated Cabinet — use this product page as a configuration reference when you size from a complete rack elevation and equipment-depth schedule. Confirm the offered model, interfaces, drawings and available evidence before quotation.
- 27U Outdoor Floor-Standing Integrated Cabinet — use this product page as a configuration reference when you reserve space for cabling, power, airflow and future changes separately. Confirm the offered model, interfaces, drawings and available evidence before quotation.
- 40U Outdoor Floor-Standing Integrated Cabinet — use this product page as a configuration reference when you verify rail adjustment and door clearance against the deepest assembly. Confirm the offered model, interfaces, drawings and available evidence before quotation.
For adjacent configurations, browse Outdoor Cabinets & Site Infrastructure and compare those options against the 19 inch outdoor rack cabinet inputs above, including rack elevation and equipment dimensions.
Common mistakes to avoid
- Treating nominal U height as fully usable capacity.
- Ignoring connectors and cable bend radius behind equipment.
What to include in the RFQ or design input
For 19 inch outdoor rack cabinet, a complete request reduces back-and-forth and prevents a catalogue image from being mistaken for a verified configuration. Record the following fields, identify which values are mandatory or provisional and attach route, interface or layout drawings where relevant.
- Rack elevation and equipment dimensions
- Required U height and growth reserve
- Equipment mass and support method
- Front-to-rear rail positions
- Connector and cable bend clearance
- Door swing and service access
- Cooling and airflow arrangement
Questions engineers and buyers ask
How should rack height be evaluated for 19 inch outdoor rack cabinet?
Use installed u plus separation and growth as the operating context, record rack elevation and equipment dimensions, and verify avoid counting unusable or obstructed spaces for the exact offered configuration.
Which project input can change the 19 inch outdoor rack cabinet decision?
Size from a complete rack elevation and equipment-depth schedule. Recheck that decision when required u height and growth reserve or equipment mass and support method changes.
Sources and standards
These sources support the method and vocabulary used in this guide. They are not a substitute for project requirements or evidence tied to the exact 19 inch outdoor rack cabinet configuration.
- ETSI ETS 300 119-2: Engineering requirements for racks and cabinets (Ed.1, reviewed 2026-10-16). Use it to verify the terminology and scope relevant to 19 inch outdoor rack cabinet; the source does not certify a specific offered product.
- IEC 62208:2023 — Empty enclosures for low-voltage switchgear and controlgear assemblies (2023, Ed. 3). Use it to verify the terminology and scope relevant to 19 inch outdoor rack cabinet; the source does not certify a specific offered product.
- ETSI TR 102 489: Thermal management guidance for telecommunications equipment (V1.3.1, 06/2013). Use it to verify the terminology and scope relevant to 19 inch outdoor rack cabinet; the source does not certify a specific offered product.
Source review: Links and cited editions for 19 inch outdoor rack cabinet were checked on 2026-10-16. Confirm the edition adopted by the project contract and the authority having jurisdiction.
Related guidance
Wall-Mount vs Pole-Mount vs Floor-Standing Outdoor Telecom Cabinets • IP65 vs NEMA 4X for Telecom Enclosures: What Each Rating Does and Does Not Prove • Single-Wall vs Double-Wall Outdoor Cabinets: Structure, Solar Load and Condensation Boundaries
Prepare a 19 inch outdoor rack cabinet configuration for review
For a project review, provide rack elevation and equipment dimensions, required u height and growth reserve, equipment mass and support method, front-to-rear rail positions. The response can separate standard options, customization points and information still required before quotation.
——END——